
Kyle Shanhanhan has received their best job of the week. Looking for more ways to get the latest Bay Area Sports news?Subscribe to the 415 Podcast section here and subscribe to the 415 Podcast section wherever you listen. As key...

See St.Louis Blues vs. Chicago Blackhawks December 12 preview with over/under odds, game drawing, money lines, predictions, channel and more. Blues vs Blackhawks Predictions, Odds, Tips - December 12 Robert Thomas and Connor Bedard will officiate the St. Louis Blues...

Leaked code from an internal pre-release iOS 26 build reveals that Apple plans to equip the iPad 12 with A19 and N1 chips አይፓድ 11 ዝቅተኛ ወጪን ለመስራት በቂ መሣሪያዎች አሉት, ግን ከዝቅተኛ ችግሮች አንፃር.In addition, the low-cost space is...

"South Park" wraps up its raunchy season Wednesday as Trump's mission to stamp out his own generation of antics comes to a close. South Park concluded its most unsafe season yet on Wednesday, as Trump's mission to take out his...

Sharon Osiburne has been reported to his last couple of the Ozour Ozour Ozour Models before his Friday Friday." Ozzy Osbourne’s touching last words to wife Sharon before his death revealed Sharon Osbourne revealed her late husband Ozzy's last words...
Google's Pixel watches always introduce a major update to their display. Pixel watch updated be 'always-on' display for media control and timers Google Pixel Pixel has launched an improved always-on display. 9toglegle's technical account is always media control (such as...

Among older adults, changes in driving patterns suggest that cognitive decline may help prevent cognitive decline and provide better road safety. Changes in driving patterns may be an indicator of cognitive decline in older adults, a long-term study suggests. Using...

Sean Combs: Thinking back on some tricky territory. Two months when Sean "Dedy" was sentenced to four years in prison in the case of his country racketeteey The Hip-hop mogul received charges of racism and sexism, on the small charge...
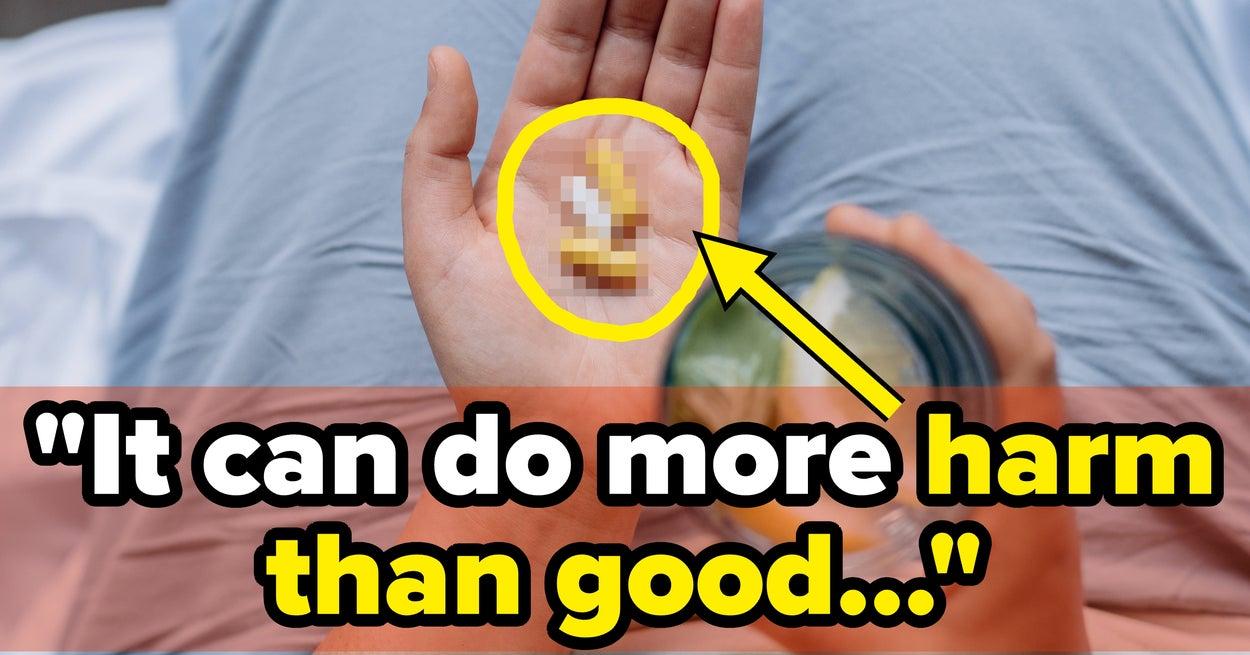
Social media is in full swing right now Whether you're thinking about New Year's resolutions or just hoping to make some healthy changes in general, you may find yourself online looking for healthy habits. For better or worse, there is...

This article explores how to transition from a ChatBot to a powerful data assistant that simplifies repetitive, tedious, and complex tasks. 7 ChatGPT tricks to automate data tasks This article explores how to change constGPT from powerful data providers to...
Stay up-to-date with the most important news in English across Sports, Health, Technology, Entertainment, and more.
© 2025 The Press Stories, Inc. All Rights Reserved.